

Before we dive into frameworks and formulas, let’s set the scene. You want to remodel, you open Pinterest, and suddenly your brain melts: numbers everywhere, wildly different quotes, and “hidden costs” in every comment thread. This guide is about turning that chaos into a clear, realistic plan — with real cases, alternative strategies, and a brutally honest look at where money actually disappears.
—
Understanding What You’re Really Paying For
Scope, Not Dreams, Drives the Budget
The first trap in any home remodeling project is confusing «what I want» with «what I’m actually paying for». You’re not just paying for pretty finishes, you’re paying for demolition, waste hauling, insurance, permits, temporary living arrangements, and a lot of labor you’ll never see. A meaningful home remodeling cost estimate starts with a written scope: what rooms, what systems (plumbing, electrical, HVAC), what is being moved, and what can stay in place. Two projects with the same square footage can differ in price by 40–60% simply because one project moves walls and utilities, and the other just upgrades finishes and fixtures without touching the layout.
Why “Price Per Square Foot” Lies (But Still Matters)
People love asking about the average cost of home remodel per square foot, as if it’s a magic shortcut. It isn’t — but it’s a useful range-check. Cosmetic updates (paint, flooring, lights) might land in a low band, while reconfigurations with structural changes, permits and inspections push you to the high end or beyond. Use the per‑square‑foot figure as a reality filter: if your conceptual budget is half of the local mid‑range, you either need to reduce scope or accept serious compromises in materials and timeline. Don’t base decisions solely on the average; use it as a diagnostic indicator of whether your expectations are aligned with market conditions.
—
Building a Budget Framework That Won’t Collapse
The 3‑Bucket Model: Hard Costs, Soft Costs, Risk Reserve
Instead of thinking “total number”, break the budget into three buckets:
1. Hard costs: materials and labor for actual construction.
2. Soft costs: design, engineering, permits, temporary living costs, storage.
3. Risk reserve: contingency for overruns, change orders, and surprises.
This structure helps you avoid the classic failure mode where the entire contingency is silently consumed by things that should have been in the base estimate. For a realistic home remodeling cost estimate, assign specific percentages: for older houses, contingency might need to be 15–25%, especially with plumbing and electrical uncertainty. Soft costs are often underestimated or “forgotten” because they feel less tangible, yet they can reach 10–20% of the total in regulatory-heavy cities.
Zero-Based vs “Rule-of-Thumb” Budgeting
There are two main approaches to creating the first draft of your budget, and both have strengths:
1. Zero-based budgeting: you itemize everything from subfloor adhesive to faucet valves.
2. Rule-of-thumb budgeting: you use cost per square foot and standard allowances.
Zero-based is more accurate but demanding: you either need cost data (from contractors, suppliers, or online cost books) or a lot of time. Rule-of-thumb is fast and works well in early planning, but hides detail. A practical compromise is to start with rule-of-thumb for early feasibility, then “zoom in” to zero-based for high-risk areas like plumbing, electrical, and custom cabinetry. Compare the results; if the detailed numbers are consistently above the rough estimate, use the higher figure as your working baseline.
—
Real Cases: How People Actually Blow (or Save) Their Budgets
Case 1: The “Cheap” DIY That Cost 30% More
A homeowner in a 1970s house decided to manage the remodel personally and hire trades directly. The initial plan looked attractive: no general contractor markup, flexible schedule, more control. On paper, it looked like a 20% saving. In reality, sequencing errors, rework, and permit delays eroded the advantage. Electrical rough-in was done before the framing inspection passed, forcing partial demolition. By the end, the project cost about 30% more than the cheapest full‑service bid they had rejected. The lesson: saving on overhead is only effective if you can manage design coordination, inspections, and logistics like a professional.
Case 2: “Premium on the Surface, Basic Behind the Walls”
In another project, the owners prioritized visual impact but kept mechanical systems intact: no re‑routing of plumbing, no moving load-bearing walls, minimal electrical changes. They spent heavily on surfaces (engineered stone, quality fixtures, custom color paints) but strictly enforced a “no layout changes” rule. Despite premium finishes, total cost stayed on the lower mid‑range per square foot compared to local benchmarks. This illustrates a non‑obvious solution: you can get a “luxury feel” without a luxury structural budget if you deliberately design around existing infrastructure.
—
Budgeting Smart for Kitchens and Bathrooms
Functional Zones and Cost Drivers
When you think about how to budget for a kitchen and bathroom remodel, stop thinking in terms of “rooms” and start thinking in terms of systems: water supply, drainage, electrical circuits, ventilation, and cabinetry. The most expensive choices usually involve moving these systems rather than upgrading components. Relocating a sink more than a meter or two can trigger new plumbing runs and sometimes structural drilling; moving a cooktop might require a new vent route and upgraded electrical capacity. A surprisingly economical strategy is to design new layouts that preserve the location of high-demand utilities (sink, shower, range) while adjusting storage and surfaces around them.
Scenario Comparison: Cosmetic vs. Full Gut
There are three typical approaches for kitchens and baths:
1. Cosmetic refresh: painting cabinets, changing hardware, swapping lighting and faucets, resurfacing countertops.
2. Partial remodel: new cabinets and fixtures but no major relocation of plumbing or walls.
3. Full gut and reconfiguration: new layout, moved walls, new utilities.
Cosmetic refreshes offer the highest “visual impact per dollar” but limited functional gains. Partial remodels are usually the sweet spot: new cabinetry and fixtures deliver big improvements, while stable layout keeps risk and permits constrained. Full guts make sense when the existing layout is fundamentally broken or when you’re already opening walls for structural or system upgrades. Compare these scenarios in your own home with per‑line item estimates; you may find that a hybrid—partial remodel with a targeted structural fix—delivers most of the benefits at a fraction of the risk.
—
Working With Contractors: Pricing Structures and Hidden Variables
Fixed Price vs Time-and-Materials vs Cost-Plus
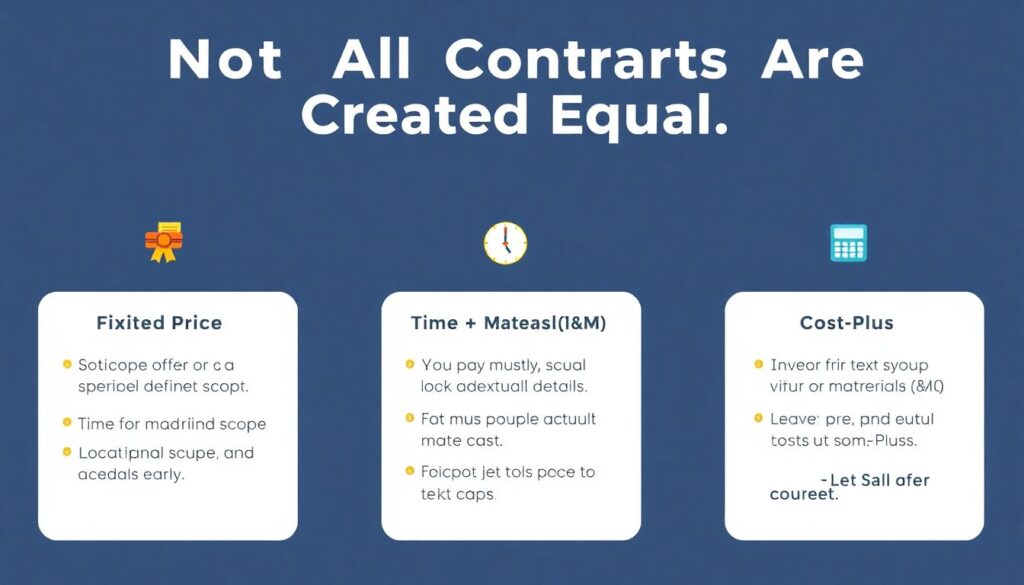
Not all contracts are created equal:
1. Fixed price: one number for defined scope. Good for predictability, but you must lock scope and details early.
2. Time-and-materials (T&M): you pay hourly plus actual materials. Flexible, but risky without tight caps.
3. Cost-plus: you pay actual costs plus a fee or percentage. Transparent, relies heavily on trust and documentation.
When you start researching “home remodeling contractors near me prices”, you’ll often see wildly different offers simply because you’re being quoted under different pricing models and with different assumptions about scope and risk. A low fixed price can conceal minimal contingency and lead to aggressive change orders when issues appear. A higher cost-plus proposal may be more realistic and end cheaper if the contractor proactively solves issues without rework. The key is to normalize bids: convert them all to a comparable structure by asking for allowance breakdowns and explicit contingency policies.
Professional Tricks for Cleaner Bids
Experienced owners and project managers use a few techniques to get more reliable quotes:
– Provide the same drawing set and written scope to all bidders.
– Define finish levels (entry, mid, high) and brand examples to avoid vague “builder grade”.
– Ask for separate line items for demolition, disposal, rough‑in, finishes, and final fixtures.
This structure exposes where each bidder is loading their margin. If one contractor is dramatically cheaper on finishes but higher on rough‑in, you know where they are compressing costs. Many misunderstandings about home renovation budgeting tips happen because people compare total numbers without examining what’s included or excluded behind the headline.
—
Alternative Budgeting Methods You Probably Haven’t Tried
Unit-Cost Budgeting Instead of “Big Blobs”
A non‑obvious approach is to budget by unit costs for high‑impact items, rather than per room. For instance, you might price per linear foot of cabinetry, per fixture for plumbing, per can light, and per electrical circuit. This method lets you “dial up or down” quickly in design discussions: shorten an island, remove a bank of cabinets, or reduce fixture counts and immediately see cost effects. It is also easier to reconcile with contractor proposals, because you can compare their per‑unit charges with your planning model and challenge any outliers.
Phased Remodeling Instead of One Big Hit
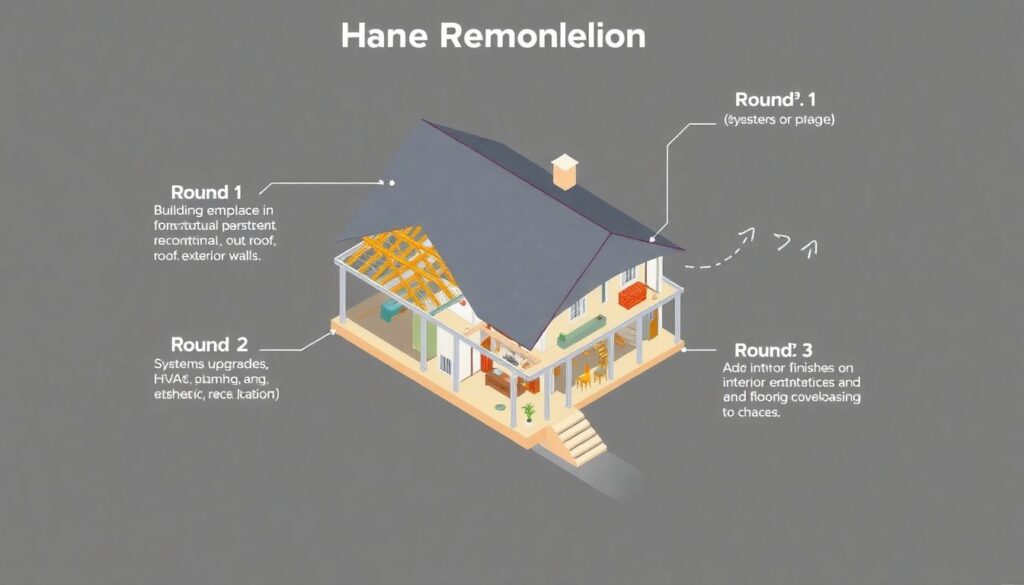
Another alternative is phased remodeling: instead of doing everything at once, you design a master plan but execute it in logically independent stages. Round 1 might tackle envelope and structural issues, Round 2 systems upgrades, and Round 3 finishes and “nice‑to‑haves.” The risk here is inflation and re‑mobilization costs, but the benefit is cash-flow control and reduced stress. Technically, this approach requires more design discipline: you must specify “future-ready” rough‑ins (e.g., running conduit or plumbing stubs now) so that later phases are cheaper and less disruptive.
—
Professional-Level Budget Hacks (That Don’t Involve Cutting Quality)
Where Pros Actually Save Money
Seasoned remodelers rarely save big by buying the absolute cheapest products; they save by controlling complexity. Complex intersections of trades (where framing, plumbing, and electrical all converge) are where time and rework multiply. Simplifying soffits, minimizing custom transitions, and standardizing door sizes can shave real money off the final bill. Another underrated technique is locking in long-lead items early—cabinets, specialty fixtures, custom windows—so that labor crews never wait on materials. Idle labor is one of the most expensive, invisible drains on your budget.
Contingency as a Design Tool, Not a Panic Fund
Professionals don’t just add contingency as a flat percentage; they vary it by risk profile:
– High contingency for hidden conditions (old wiring, unknown plumbing routes).
– Moderate contingency for scope-unstable areas (kitchens during ongoing layout negotiations).
– Low contingency for standard, repeatable work (simple flooring replacement).
One advanced tactic: keep a separate list of “optional upgrades” priced and ready. If your actual costs stay below projected levels as work progresses, you selectively deploy contingency funds into these pre‑vetted upgrades instead of improvising last-minute changes, which tend to be inefficient and expensive.
—
A Step-by-Step Roadmap to a Realistic Remodeling Budget
From Idea to Executable Plan
To avoid the usual budget chaos, move through this sequence deliberately:
1. Clarify objectives: functional problems first, aesthetics second.
2. Establish constraints: maximum spend, required completion date, tolerance for disruption.
3. Create a rough order-of-magnitude budget using per‑square‑foot and benchmark data.
4. Refine via zero-based and unit-cost methods for high-risk areas.
5. Develop a scope definition package with drawings and written descriptions.
6. Solicit and normalize bids from multiple contractors using that same package.
7. Lock a contract structure that matches your risk tolerance (fixed, T&M, or cost-plus).
8. Monitor scope creep and guard contingency funds throughout execution.
Each step reduces ambiguity. Instead of improvising under time pressure, you’re forcing decisions into an orderly pipeline. Most budget disasters come not from one huge mistake, but from dozens of small, unchecked changes accumulating without clear cost tracking or scope control.
Choosing the Approach That Fits Your Personality and Risk Profile
Comparing approaches, the “all‑at‑once, full-service contractor, fixed price” model is best if you value predictability and minimal time investment, even if it costs a bit more on paper. The “self-managed, trade-by-trade, T&M” approach can save money if you are analytical, organized, and ready to treat the project like a second job. A hybrid setup—general contractor for structure and systems, direct sourcing for finishes—is often a good middle ground for homeowners who want control over look and feel without handling inspections and trade coordination. Match the model to your temperament; the cheapest theoretical method is not the best if it leads to burnout or half-finished work.
—
By combining structured methods (buckets, unit costs, phased planning) with grounded expectations (scope-driven costs, realistic contingencies), you transform budgeting from a guessing game into a manageable engineering problem. With that mindset, “How much will this cost?” stops being a source of anxiety and becomes a set of numbers you can actually reason about—and control.